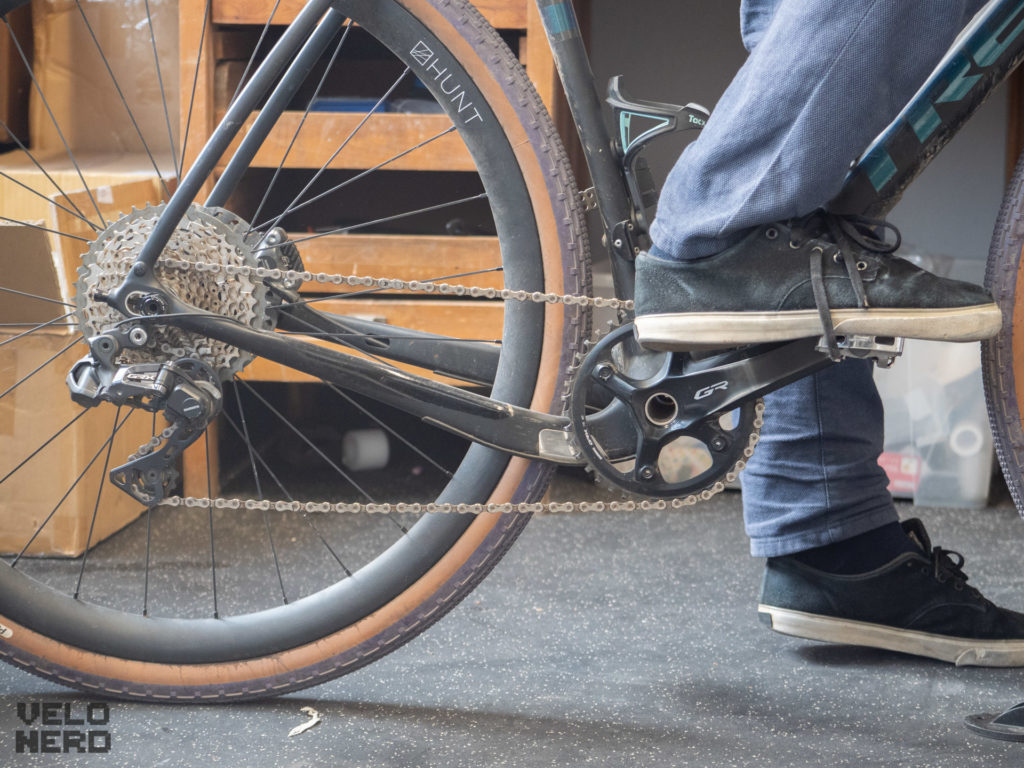
The bicycle chain is the greasiest object on the bike. Actually, it really is mostly just annoying, it squeaks, grinds and breaks. And maybe it won’t fit at all? Too long, too short? Or the chain link will neither open nor close? I show you in this tutorial various tools that you absolutely need or in which case you can live without it. The subject has many facets, or should I say links?
The chain of the whole drivetrain is where most problems arise. Tips and walkthroughs to solve them you will find here. But first you must find out where exactly you (what chain and drivetrain you have) before we can start. I explain each step in detail afterwards.
- Is your chain still usable or does it need to be replaced? (Why replacing the chain)
- How do I find the chains right length, width or size to fit my bikes drivetrain? (What chain)
- How do I open the old chain to remove it?
- How do I mount and connect the new chain correctly?
Let’s go through this step by step.
Determine the wear on your bicycles chain first
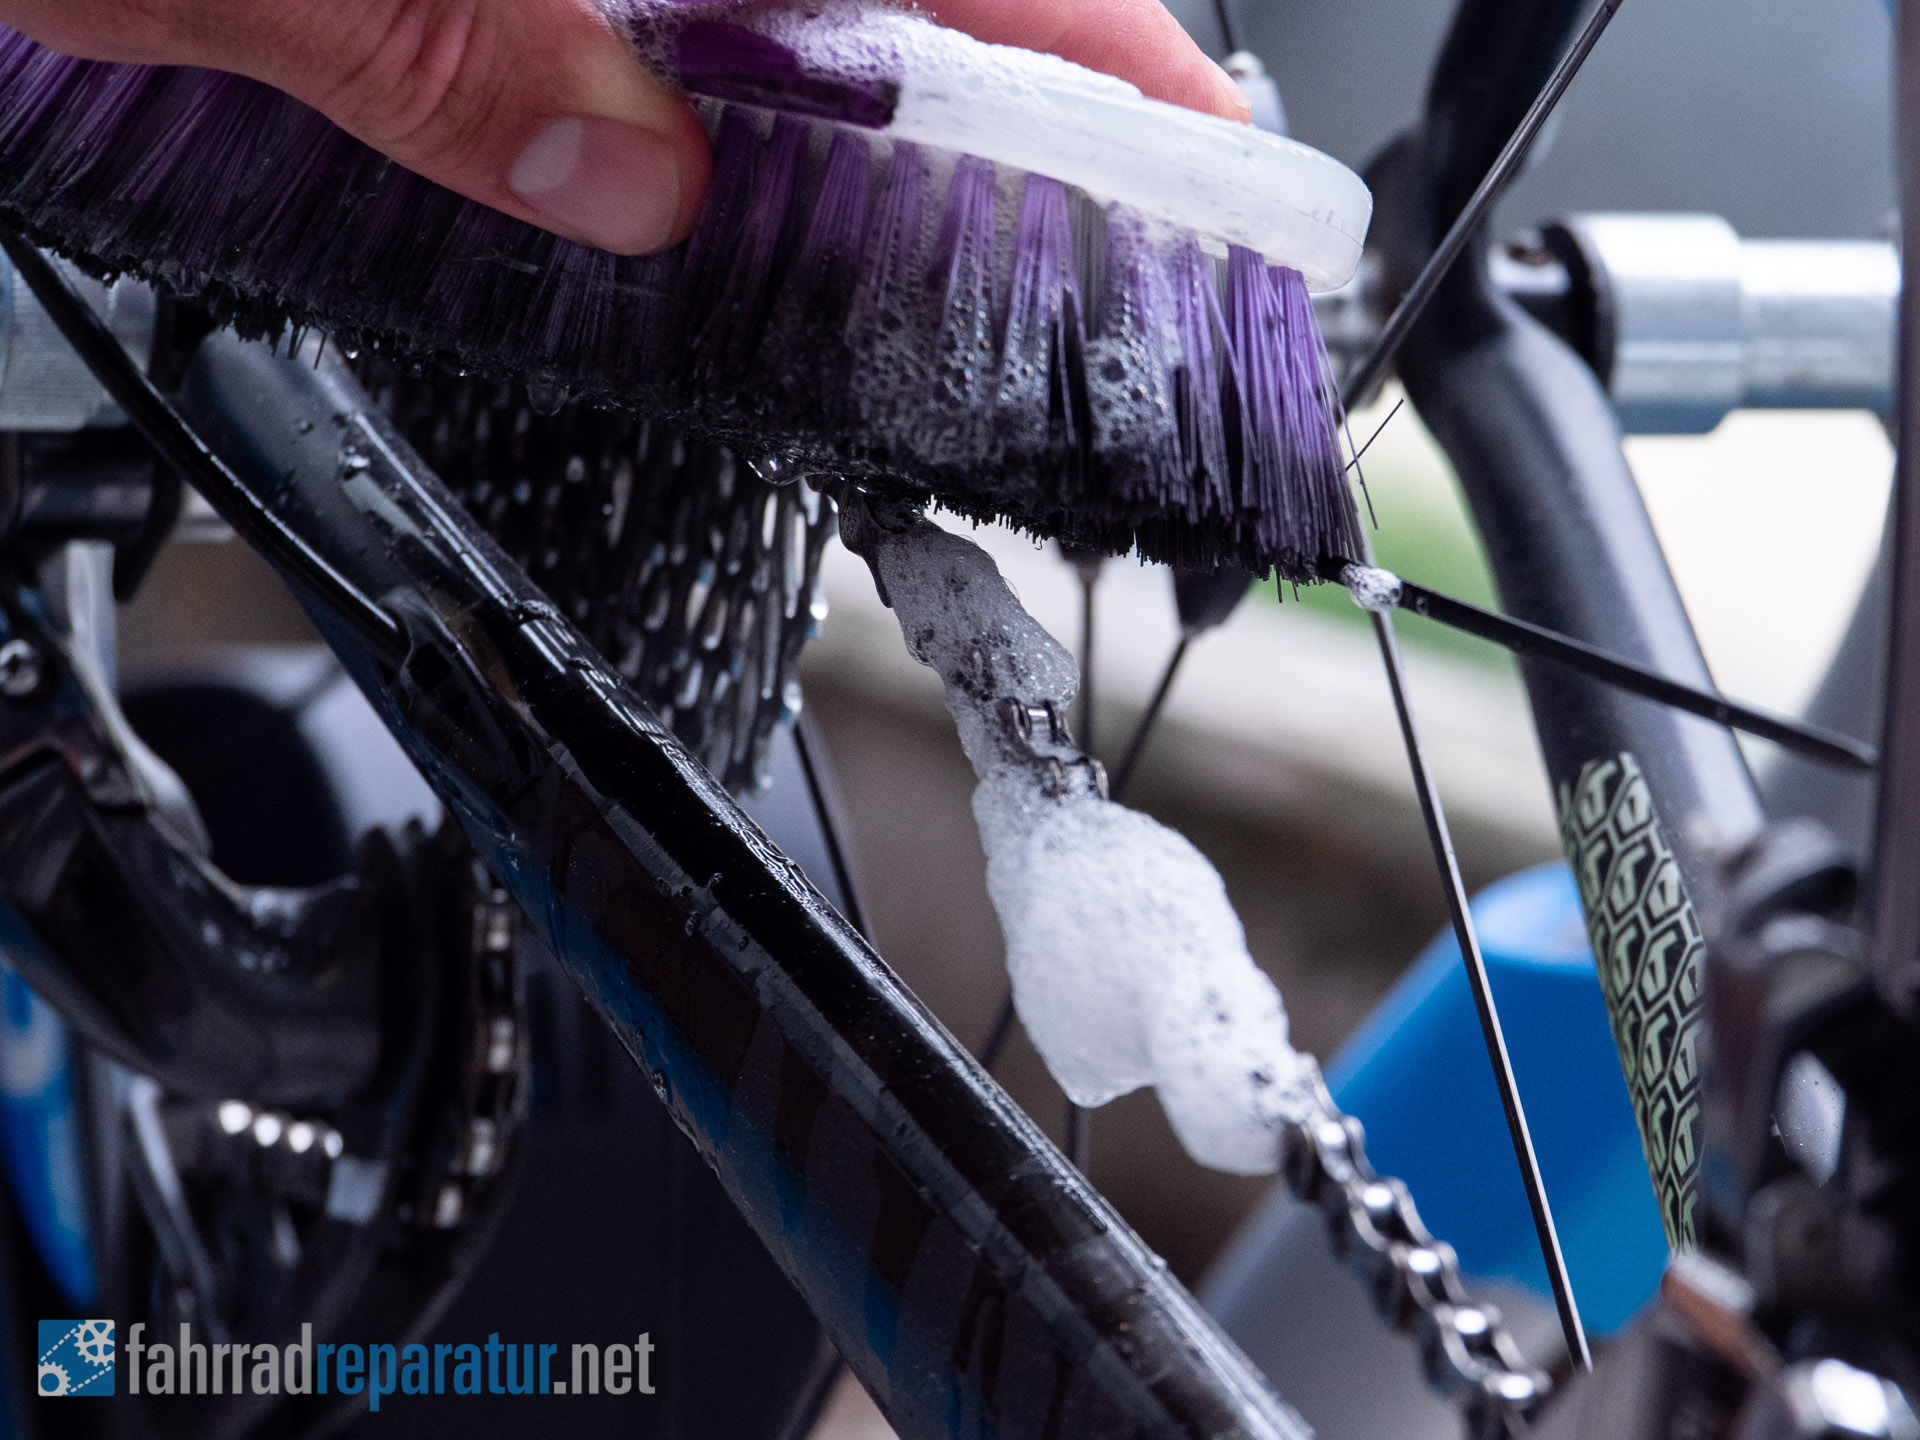
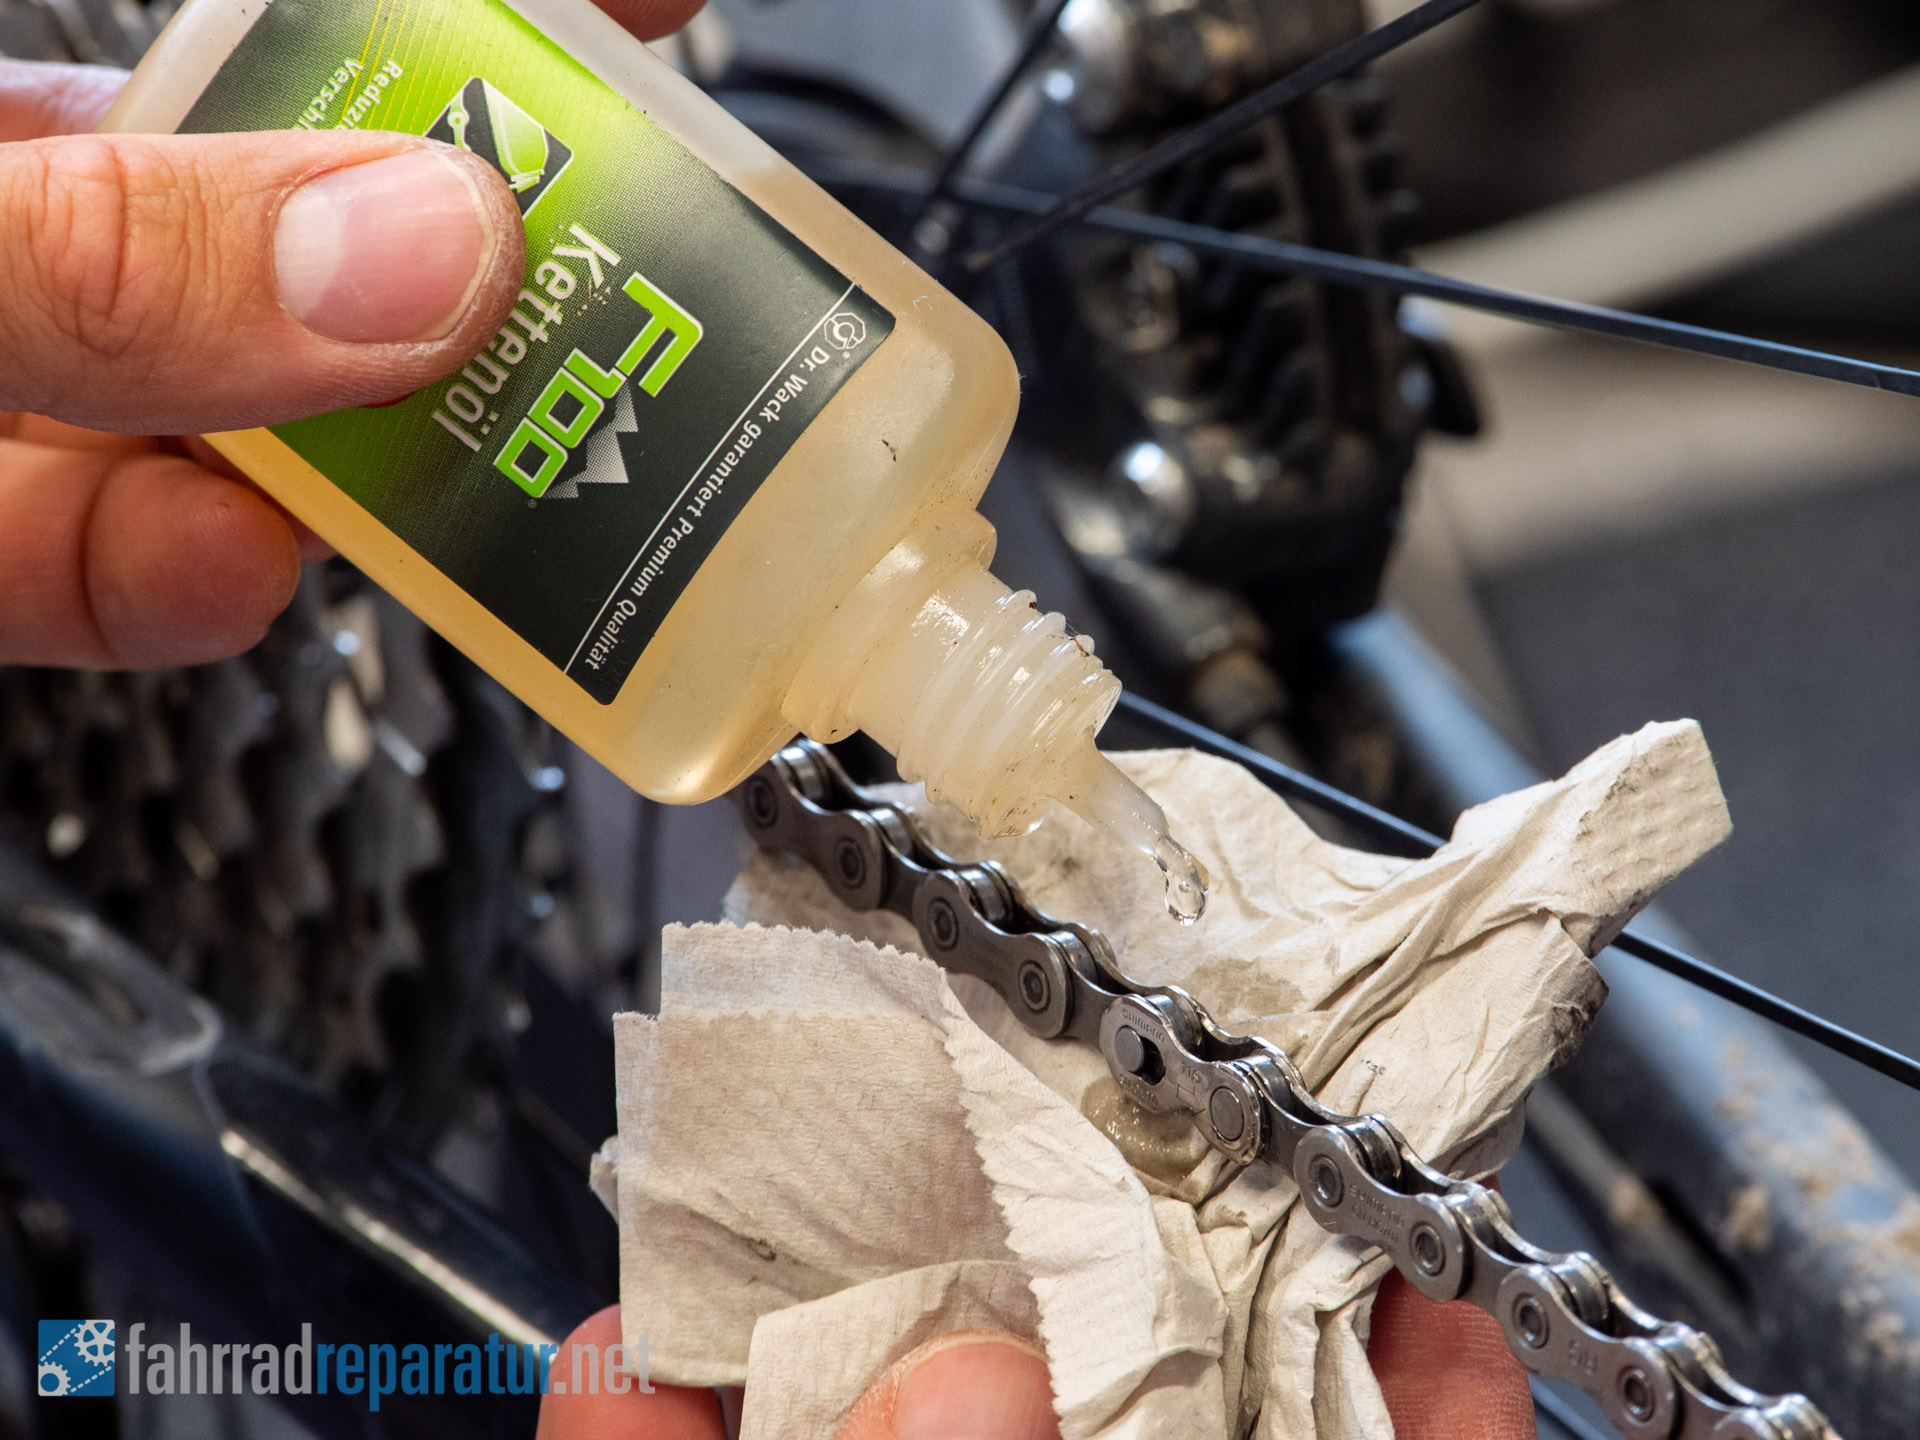
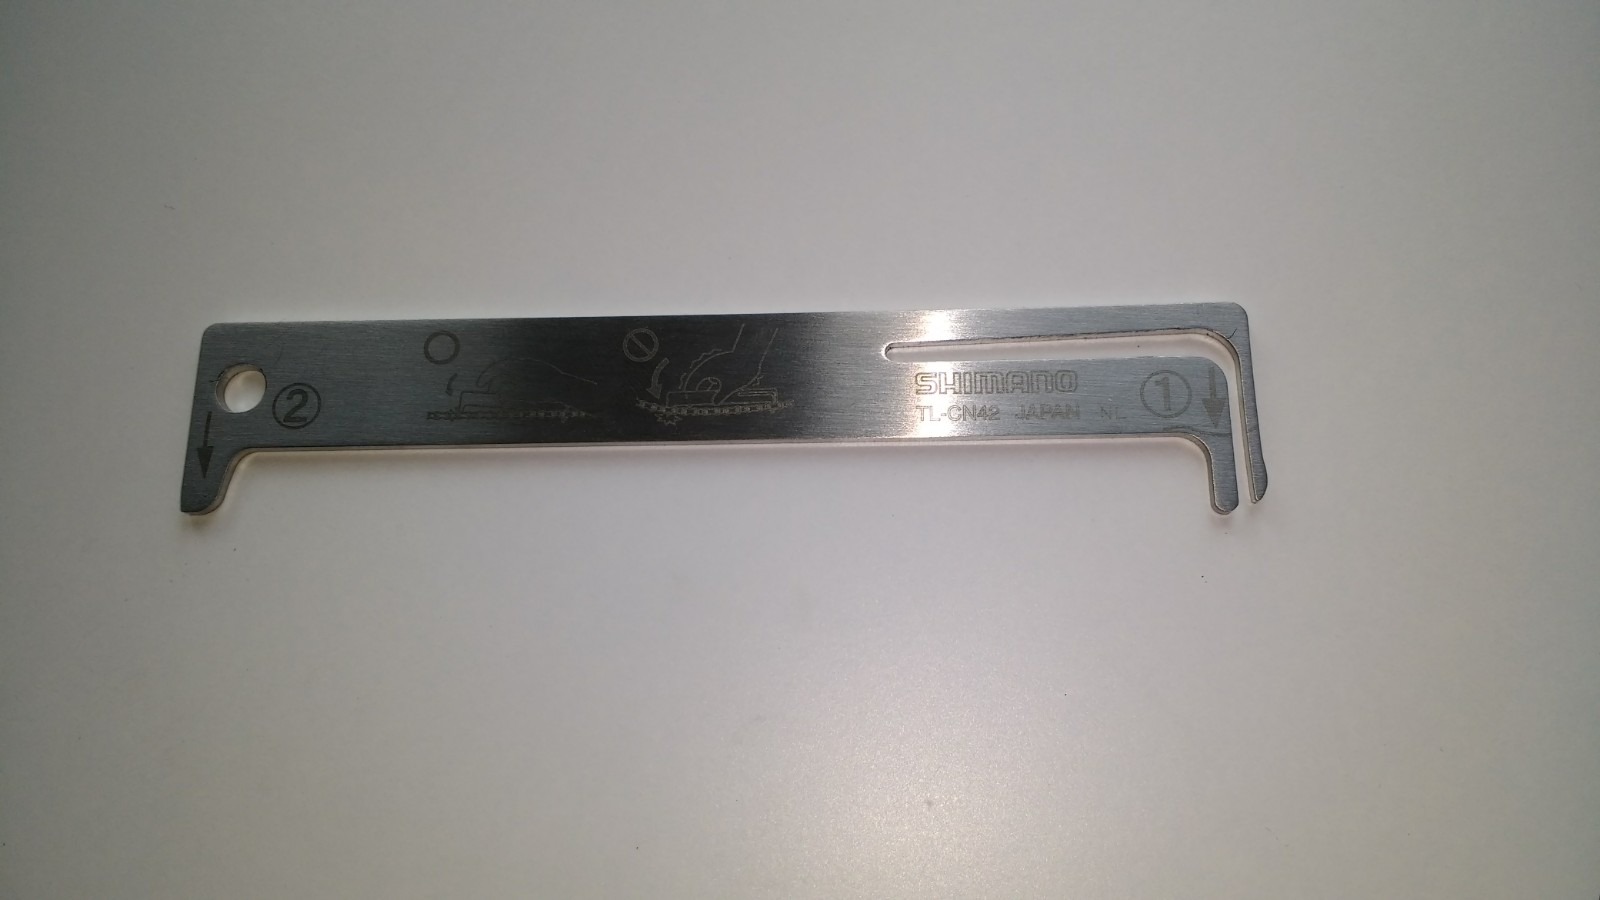
With a chain gauge you can determine the wear of a bicycle chain. Because a chain stretches and then becomes ineffective. Only through this stretching the chain damages your chainrings and sprockets, eating through your bikes drivetrain (sprockets and chainrings). Rust and dirt may be ugly, but that is not the deciding factor in whether a chain needs to be changed. You can simply clean and lube your chain, it will be fine in no time. And it’s always more eco friendly to not throw everything away so quickly and buy new.
You can find the detailed guides for these three topics here:
All covered? You are sure the chain must be replaced? Then let’s go to the next step.
Find the right and fitting bicycle chain
In general, you just need to know what kind of shifting you have. So whether it’s derailleur (external) or hub gears. Also, the number of sprockets on the rear hub (on external shifting with a derailleur). This count is crucial for the right chain. Suitable for your bikes drivetrain.
You can find even more tips on the size and correct bicycle chain in our in depth article on the subject:
Do you have the right length and width to fit your bike and gear? Perfect, then we can finally go ahead with the main topic.
Open and remove a bicycle chain and quick link
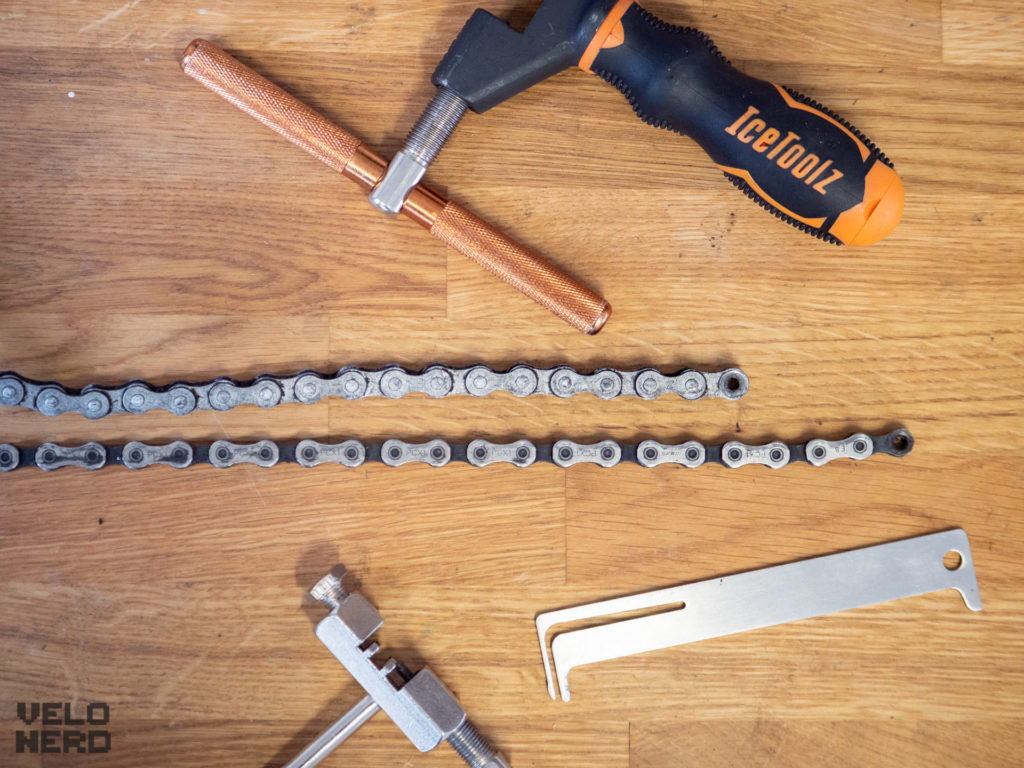
Disassembly of the chain is a simple operation. However, you won’t get anywhere without special tools. Because you can not bite through the pins in the chain with your teeth, and we won’t use force here. The good thing is: with the same tool with which you open the chain, you can also close it. There are two options.
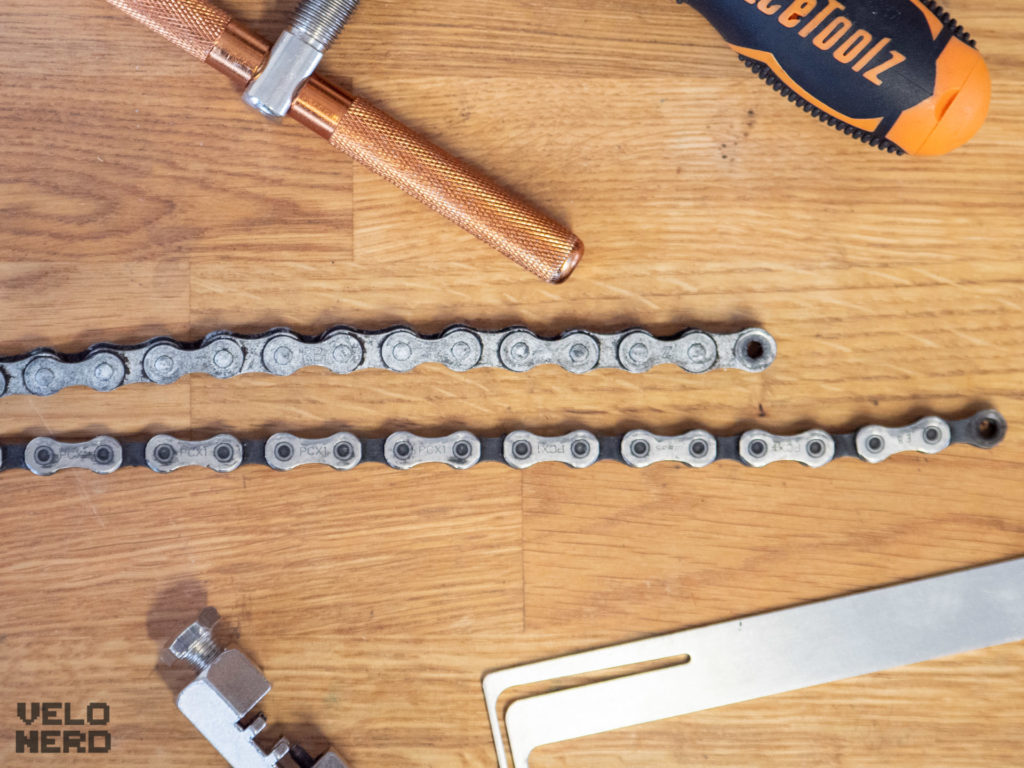
Before it gets to the two real options – here’s a quick note for the desperate. You do not have a chain riveter and also no chain pliers to open and close the chain? It is not impossible that an old chain could be opened by force (e.g. with a hacksaw). The new chain can be closed again with the right quick link it comes with even without tools! It just happens to have to fit from the length as well. In that case, you would have avoided the issue and gotten by without any special tools at all. But how sustainable is that? At the latest, you will face the same issue with the next replacement. And a chain riveter is neither expensive nor useless. It is used when opening and also when resizing on installation, which is needed 90% of the time. So an essential tool in your bike workshop.
The two (correct) options mentioned above are: Chain riveter and chain (nose) pliers. Modern bicycle chains do not require a chain rivet to open/close. Quick links are all the rage for many years now, even Shimano as one of the last manufacturers switched the side to the quick link. But you will still need the tool to shorten the chain to the correct length (number of links). You can read more about this in the assembly of the chain part below.
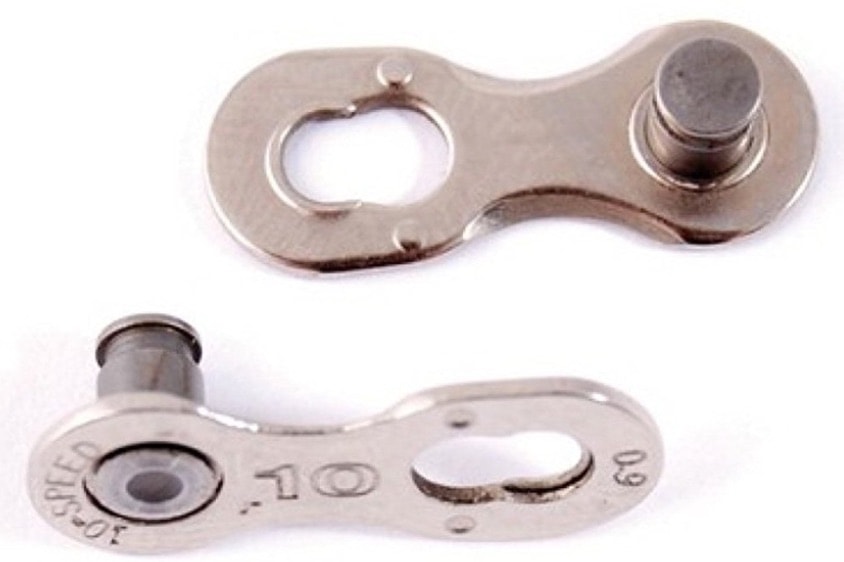
There are now two ways to open the chain: If your chain is connected with a quicklink, then simply open it with a pair of chain nose pliers.
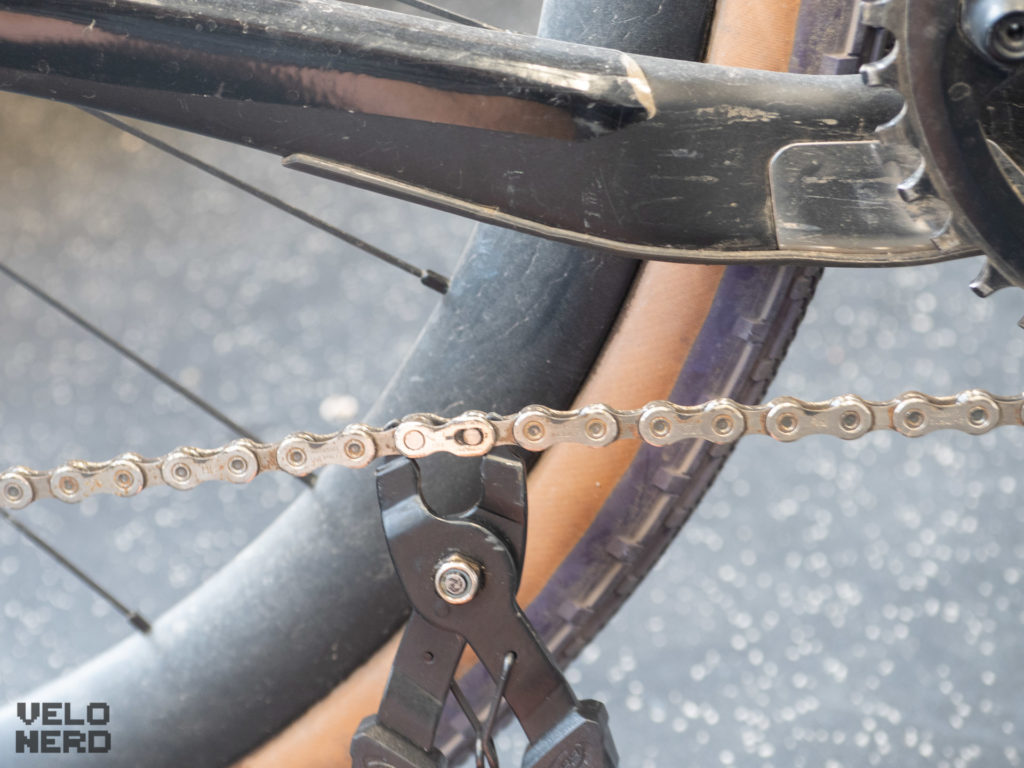
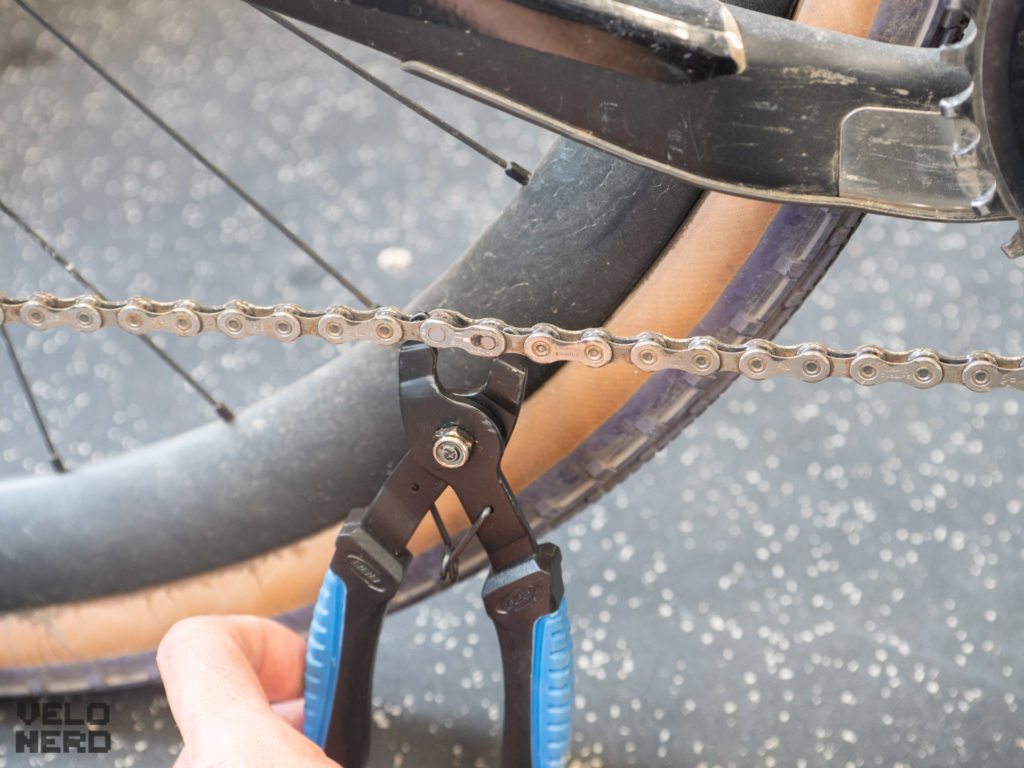
This way you will have an easy time with your chain. If you can’t find such a quicklink on the chain, then you have to open any link with the chain riveter. Caution: a chain opened in this way cannot be closed again with the same pin (that you just pushed out). You would need to purchase a matching master pin (Shimano or Campagnolo chains) or use a matching quicklink from the manufacturer (Shimano provides for some but not for all chains). Pins and quicklinks must always fit exactly to the defined pin length! Universal parts do not exist, because each manufacturer’s chain is slightly different.
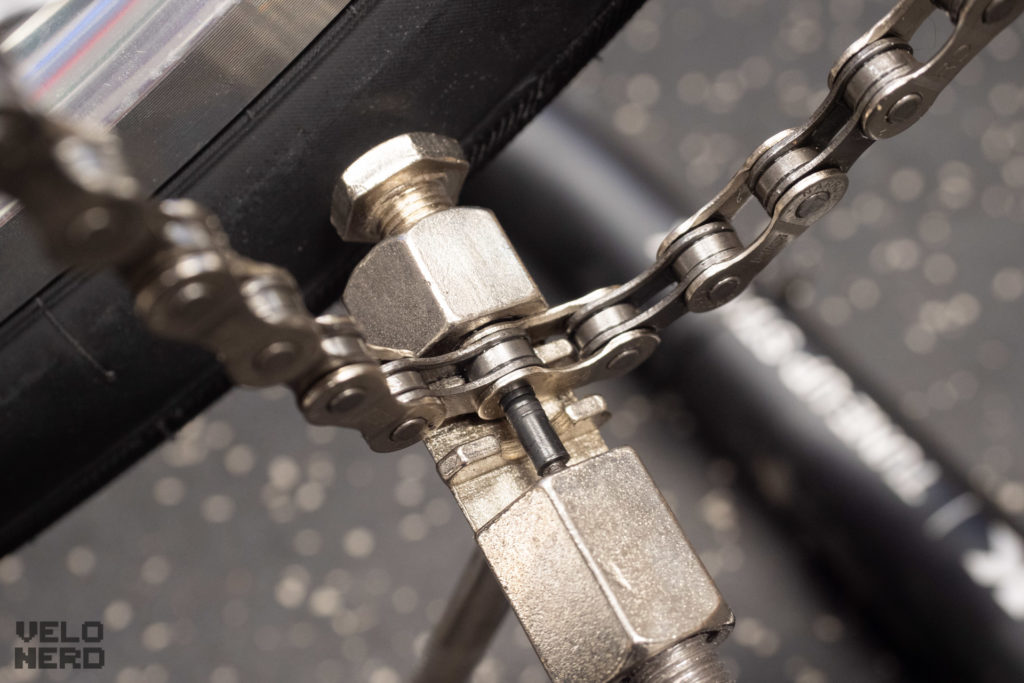
Even more tips on the chain riveter and pliers you can read here:
Your bike now has no chain because you have opened and removed it. Then only the last step remains.
Install and connect your new bicycle chain
There are a few things to consider when installing a new chain. And some little helpers that can make your life a lot easier. You can even build them yourself, with a simple wire. Here are the tips for connecting the bicycle chain with a master pin or quick link.
There are two closure systems for the bicycle chain. Older and some cheaper Shimano chains and other manufacturers still rely on the master pin. Here, a pin is used by the chain riveter to marry two “regular” chain links. It is different with quicklinks, these can be closed without any tools. Even more tips you read (again) in its own in depth article on quicklinks / master pins:
Lengthening a bicycle chain
Before mounting the chain, the length of the new chain must be adjusted. Here again there are two methods to find the right length.
Either you still have the old chain as a reference and can put the new chain next to it. So you can compare the number of links and choose the same number for the new chain. Be aware that the old chain may have lengthened by 1-2 links (so watch the offset when you put it against).
Make sure that if you have a chain with a quicklink, you shorten the chain so that the end piece is a small link. With a pin-lock chain (master pin on Shimano chains), you must have a large link at the end (the pin connects the large end to the other small end).
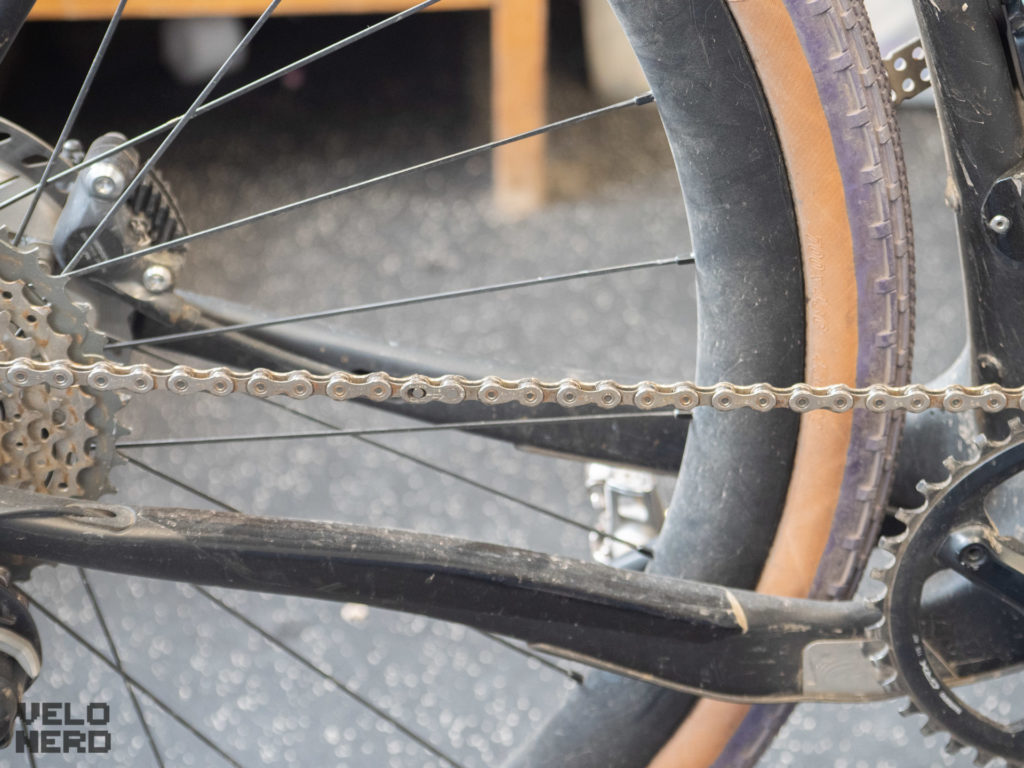
If you don’t have an old chain for reference, then you will need to install the full length of the new chain (without closing it). To do this, place the chain on the largest sprocket at the rear and on the large chainring at the front. This is the maximum length your chain will need. The rear derailleur can be pushed through more in this position, it must even reach very far forward. Removes as many links until the rear derailleur is in a strongly tensioned position (if the rear derailleur is not strongly tensioned forward in this extreme position, then the chain is still too long).
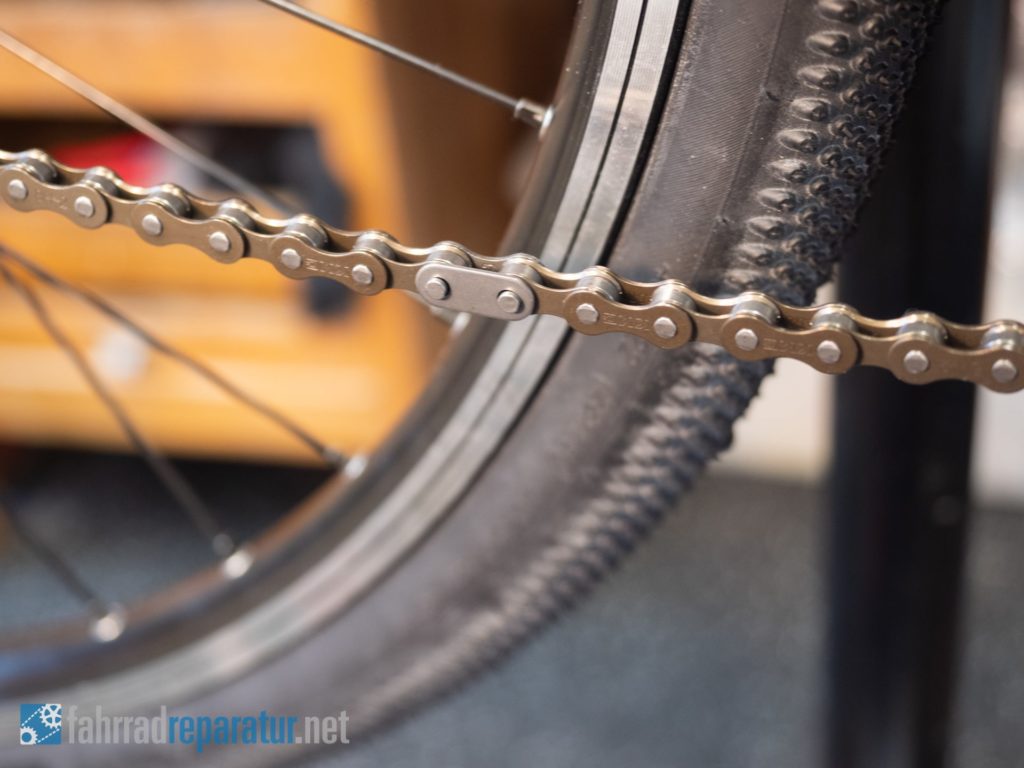
Now the chain has the right length. Guide the chain again correctly through the rear derailleur, the frame and around the chainring. You have to be especially careful with the deraillers. There is a very typical mistake here, as the chain guide can be a bit confusing.
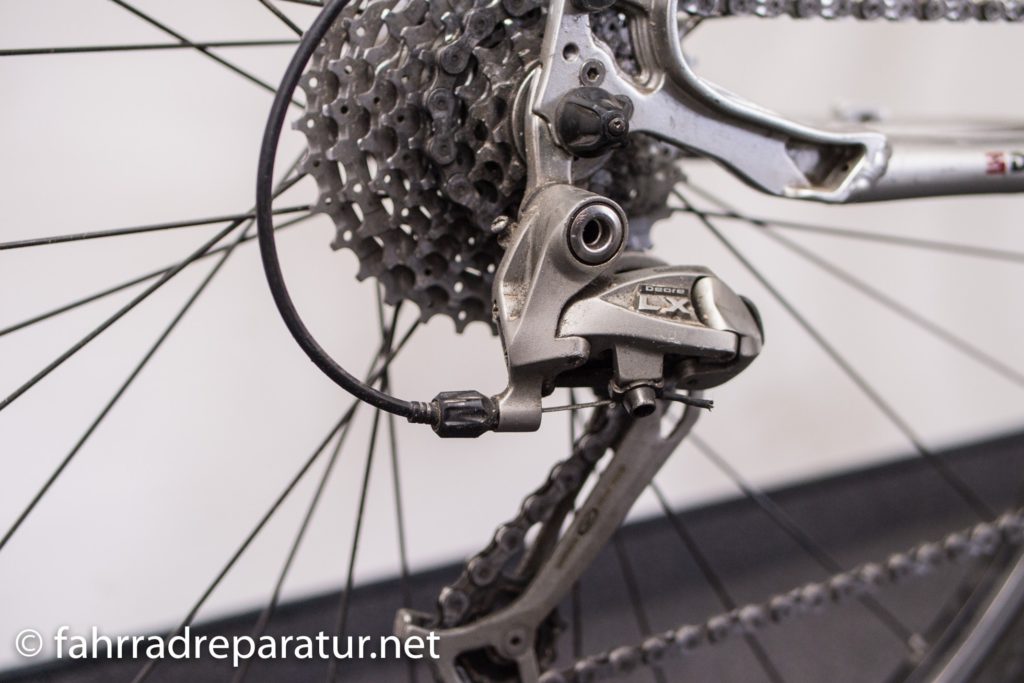
Unfortunately, I do not have a detailed picture to this chain guide – but hopefully you get the idea! Your chain must not have any contact with a pin when routed through the rear derailleur.
If the chain is routed through so far and on the front chainring, then we must now connect both ends of the chain. To prevent the chain from constantly jumping open in this position, you can help yourself with a wire. Some chain tools / Mutlitools even have such a helper:
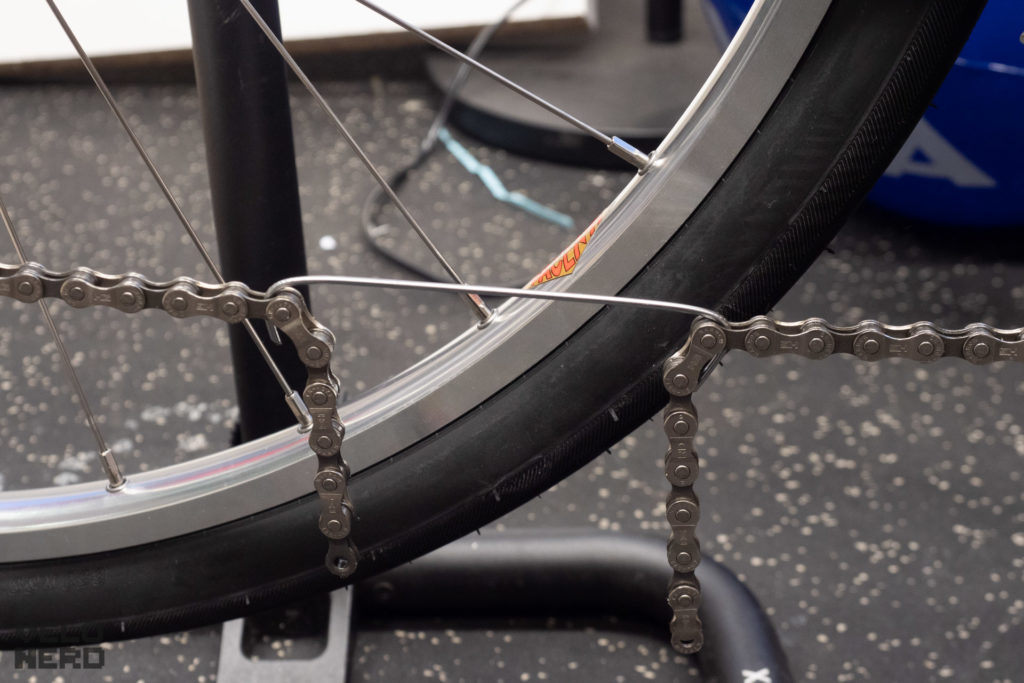
If you have a chain with a quicklink, then connecting part is especially easy. Connecting the quicklink

The easiest way to close such a quicklink is on tension! This is because the chain stretches when riding, when the power is transferred from the crank to the rear wheel. So all you have to do is align the pin and pedal hard once.
Now not all chains have the quicklink option. Even though this is already very common today! For this variant is convenient, to open and close again quickly – hence the name. But with the chain with master pin you have to work with the chain riveter. You can see this last variant here.
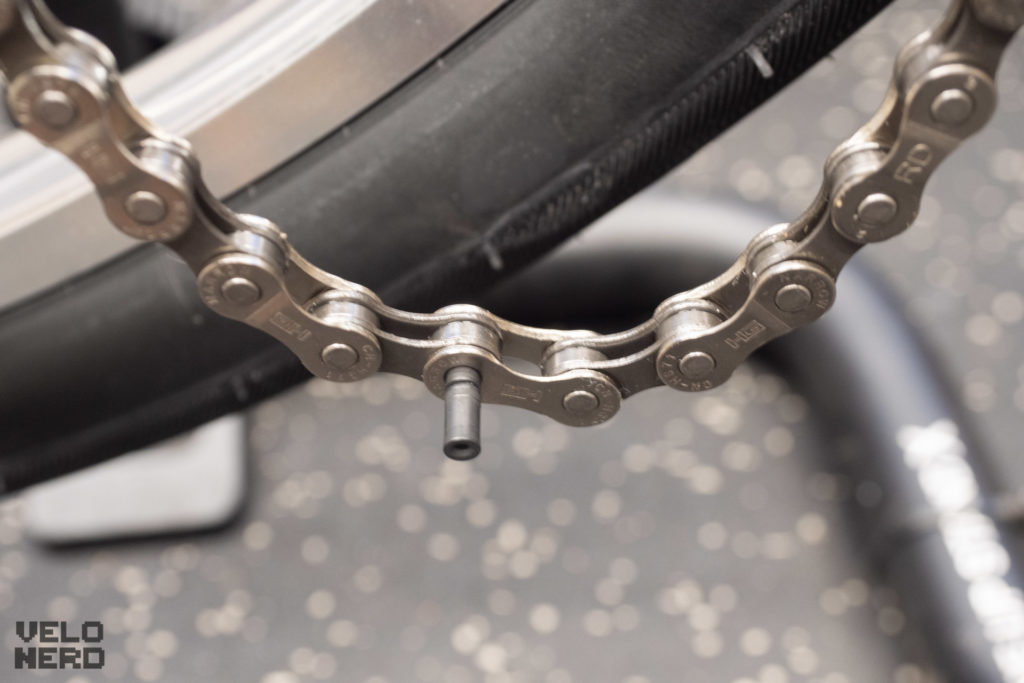
Joins the chain ends and inserts the pin. 
With a chain riveter you can now push the pin to its final position. 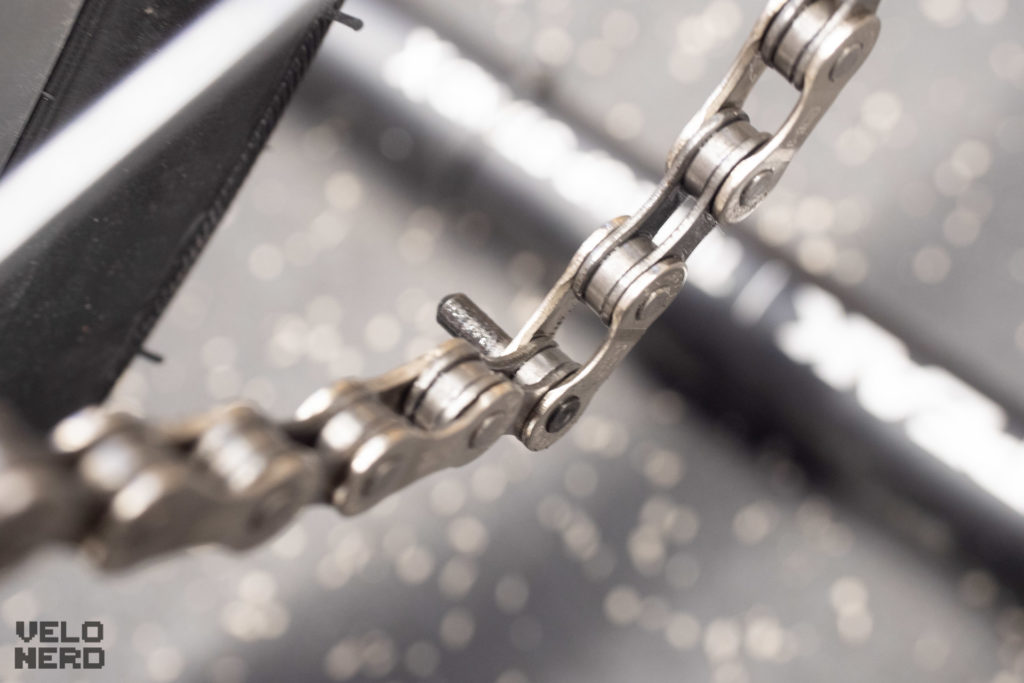
The end piece of the pin is now protruding and must be removed. 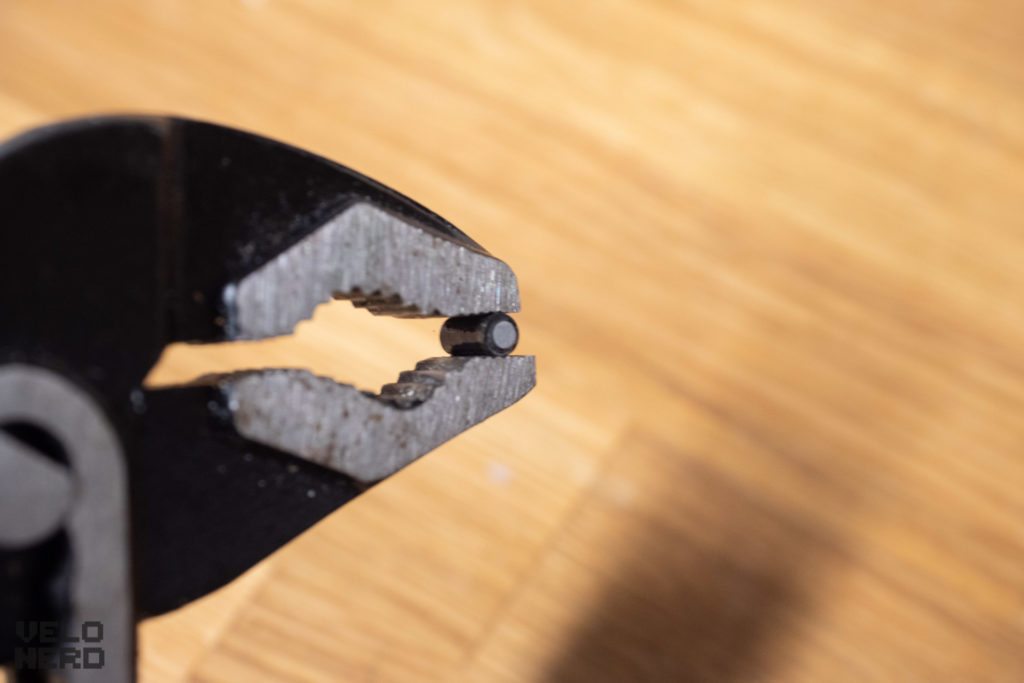
With a pair of pliers you can break out the small pin, and you are ready to go.
In the best case, the chain now fits perfectly – because you have measured the length correctly! So now shift through all gears once and check at the two extremes (smallest sprocket + smallest chainring and largest sprocket + largest chainring) whether everything fits.
Done – a not-so-simple topic with many sub-steps. I hope you have made some progress though. If not, now is the time to write a comment!

